How to Scan a Photo into a PDF on iPhone
Scan printed photos into clear PDFs with Notes or Files on your iPhone.
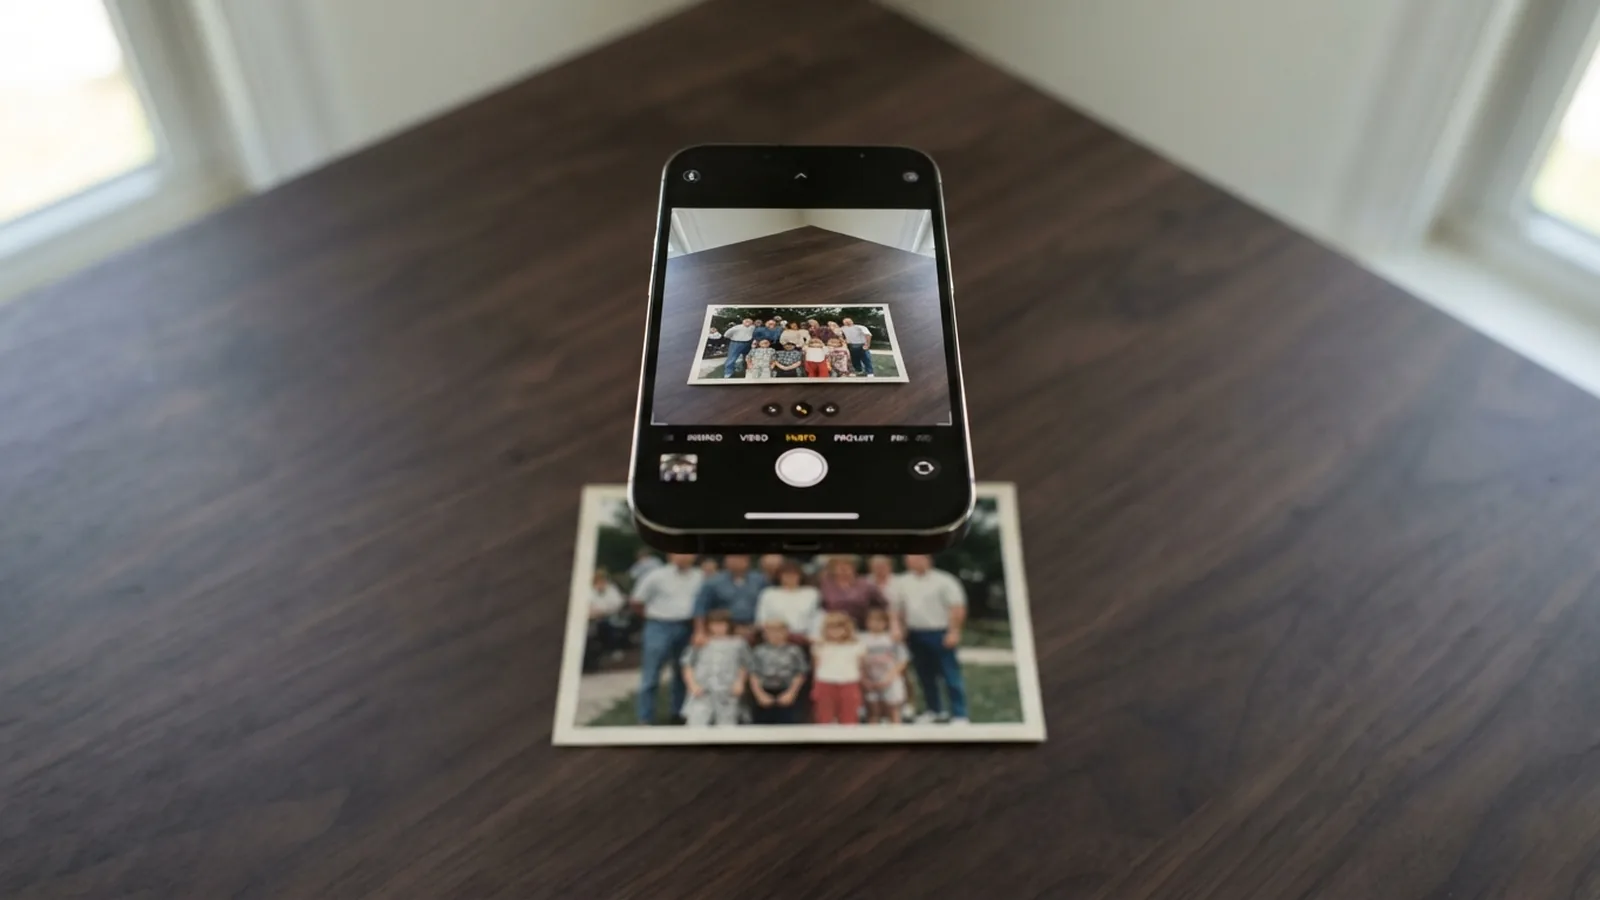
Scan a Photo with the Notes App
The fastest way to learn how to scan a photo to PDF on iPhone is to use Notes. The app uses your iPhone camera to capture a printed photo. It then saves the scan as a PDF inside a note.
Open Notes and create a new note. Tap the attachment button near the keyboard or note toolbar. Choose Scan Documents from the menu. Hold the photo above a flat surface, then point the camera at its edges.
Notes may capture the photo on its own when it finds the edges. You can also tap the shutter button to take the scan by hand. Move each corner if the crop misses part of the photo. Tap Keep Scan, then tap Save when you finish.
This method works well for one photo or a small group of photos. Scan each photo in the same note if you want one PDF file. The order of the pages follows the order of your scans.
- Open Notes and start a new note
- Tap the attachment button
- Choose Scan Documents
- Adjust the frame and tap Keep Scan
- Tap Save to store the PDF
Apple gives the same core steps in its guide to scanning documents on iPhone. The feature works without a separate PDF conversion app.
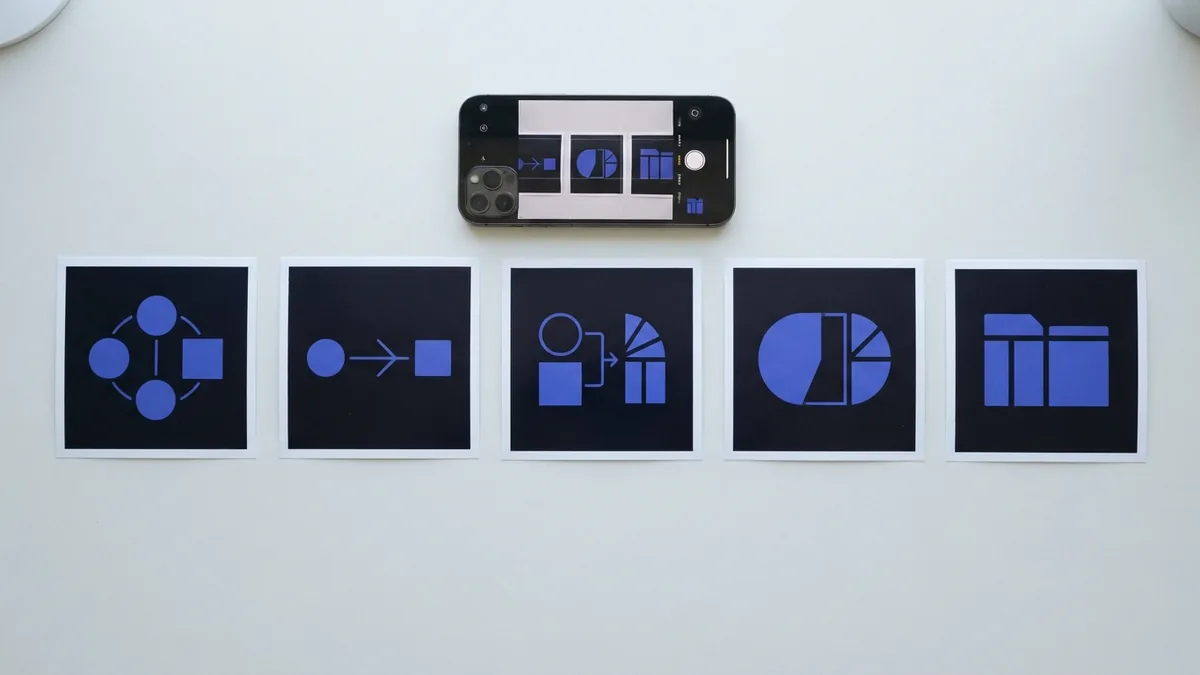
Use Files for a Direct PDF Scan
The Files app offers another answer to how to scan a photo into a PDF on iPhone. This route saves the scan in a folder instead of inside a note. It suits anyone who wants clear digital document management.
Open Files and choose a folder under On My iPhone or a cloud drive. Tap the three-dot menu in the upper corner. Select Scan Documents. Aim the camera at the printed photo and wait for the edge guide.
Tap the shutter button if the app does not capture the photo. Review the scan before you save it. You can drag the corners to fix the crop. Tap Retake if glare, blur, or a poor angle affects the result.
Tap Keep Scan after each good capture. Add more pages if you want a single PDF with several photos. Tap Save, choose the folder, and enter a clear file name.
Files gives you a simpler folder path than Notes. It also makes later sharing easier. You can find the PDF beside your other files without opening a note first.
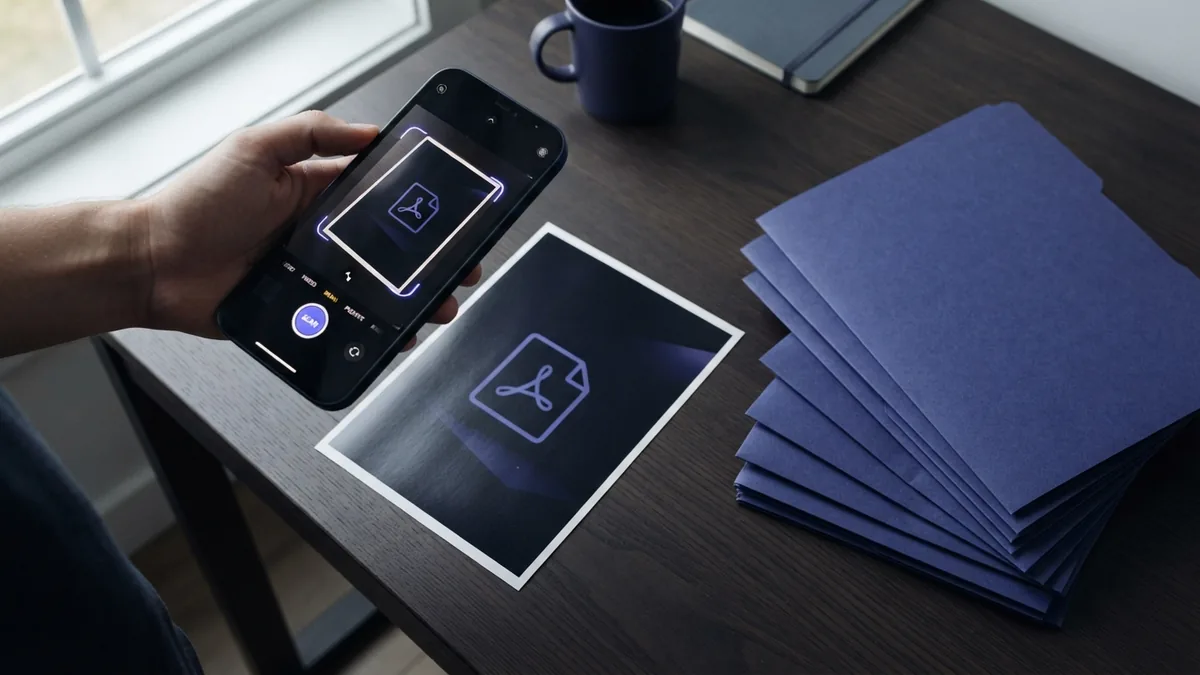
Improve the Quality of Your iPhone Scan
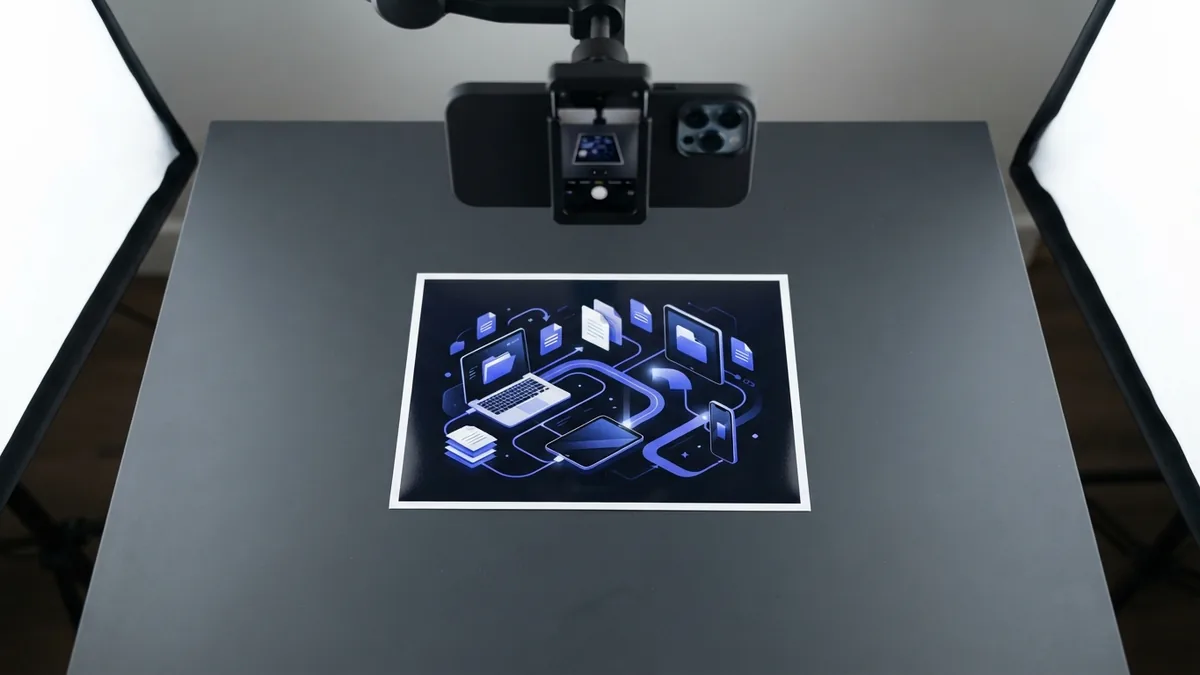
Good setup matters when you learn how to scan a photo in PDF format. Place the photo on a flat, clean surface. Keep the camera parallel with the photo to avoid a slanted shape.
Use bright, even light from both sides. Avoid a strong lamp directly above the photo. That light can create a white glare spot. Natural light near a window often gives a better result.
Before saving, check the scan area and move every corner into place. Use the filter button to change the look of the scan. A color filter can keep the photo close to its real tones. A grayscale filter can help when the paper has marks.
Use flash only when the room is too dark. Flash can reflect off glossy prints. Turn it off when you see bright spots on the photo. Wipe the camera lens if the scan looks soft or hazy.
| Problem | Best quick fix |
|---|---|
| Slanted edges | Hold the iPhone straight above the photo |
| Dark corners | Add even light from both sides |
| White glare | Turn off flash and move the lamp |
| Missing edges | Drag the crop corners outward |
Scan at the highest useful quality for your goal. A small family photo needs less detail than a large print. Still, a sharp scan gives you more room to crop later.
Save, Sign, and Share the Finished PDF
After scanning, the PDF stays in your note or chosen Files folder. Open the file to check each page. Zoom in on faces, borders, and small details before you send it.
Tap the share button to open document sharing options. You can send the PDF through Mail or Messages. You can also save it to another folder or open it in a PDF app.
Need to approve a form or label? Use the Markup tools to add a signature. Tap the plus button, choose Signature, then place it on the page. You can resize the signature before you save the final file.
Give the file a useful name before sharing it. Include the subject and date, such as family-photo-2026.pdf. A clear name helps you find the file later.
- Open the saved scan
- Check the crop, color, and page order
- Use Markup if you need a signature
- Tap Share and choose a sending option
- Keep a copy in Files for later use
If you already have a digital photo in Photos, you may not need camera scanning. Use the Share menu to print or save the image as a PDF, depending on your iOS version. Camera scanning is better for a physical print that you want to capture again.
Fix Common Scanning Problems
Sometimes the scan does not detect the photo edges. Move the phone closer, then keep all four edges inside the camera view. A plain surface behind the photo also helps the app find its border.
If the PDF looks blurry, clean the lens and hold the phone still. Take the scan again with more light. Do not zoom in with your fingers, since digital zoom can reduce detail.
If the file has the wrong crop, open the scan and choose the crop tool. Move each corner by hand. Save the change before you share the file.
A PDF may also look too large after several high-detail scans. Remove pages you do not need, then save a new copy. For email, a smaller file may send more easily.
When Notes or Files will not save the scan, check free storage. Also check your cloud connection if you chose an online folder. Try saving under On My iPhone first. Then move the PDF after it saves.
- Cannot find the scan tool: update iOS and reopen the app
- Edges look wrong: retake the scan on a plain surface
- Colors look odd: try the color filter or turn filters off
- Sharing fails: save a local copy before sending it
- Pages are out of order: scan them again in the needed order
These steps cover how to scan a photo into a PDF with either built-in app. Notes is best for scans tied to notes. Files is best when you want a saved folder from the start.
Related reading

Merge PDFs: Order and Sharing
Join PDFs in the right order with online tools or built-in desktop apps.
PDF Compression: Smaller Files, Better Quality
Shrink PDFs by tuning image settings and choosing the right compression level.
Secured PDFs: Passwords and Editing
Protect a PDF, set editing rights, and remove security with permission.