How to Make a PDF on iPad: Three Easy Ways
Create PDFs on iPad from scans, photos, documents, and more.
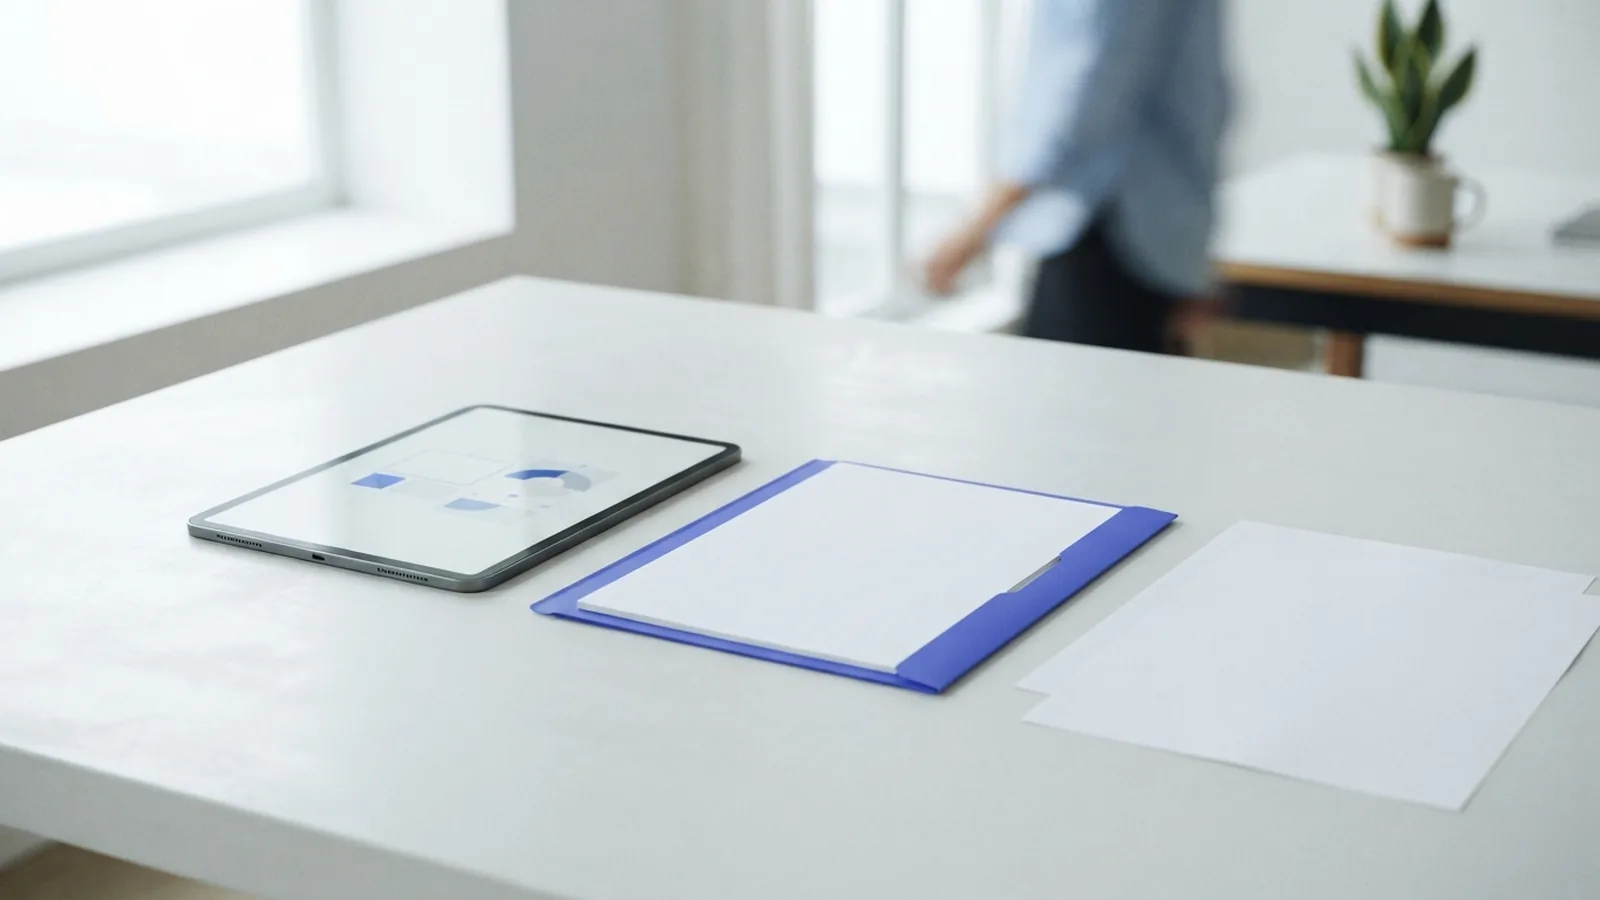
Start Creating PDFs on Your iPad
You can make a PDF on iPad without buying special software. The built-in Notes, Files, Photos, and Pages apps cover most daily needs. You can scan paper pages, turn photos into one file, or export a document as a PDF.
The best method depends on your source file. Use Notes or Files for paper documents. Use Photos for pictures. Use Pages for reports, letters, and other typed files. Third-party apps can help when you need edits or form tools.
Most methods take less than two minutes. Your iPad can then store or share the finished file.
Use Notes or Files to Scan Paper Documents
The Notes app offers a quick way to scan paper pages. It uses the iPad camera to find each page and capture its edges. Notes then saves the scan inside a note as a PDF.
- Open Notes and create a new note.
- Tap the camera button, then choose Scan Documents.
- Hold the iPad above the page and let it capture the sheet.
- Add more pages, then tap Save.
- Tap the scanned document, then use Share to save or send the PDF.
The Files app has a similar scanner. Open a folder in Files, tap the three-dot menu, and choose Scan Documents. Capture each page, tap Save, then pick a folder for the new PDF.
Files is often better for long-term storage. It puts the PDF in iCloud Drive or another linked location. Notes works well when you want the scan beside typed notes or a task list.
Turn Photos and Images Into a PDF
You can make a PDF from images in the Photos app. This trick works without a separate PDF tool. It also lets you combine several pictures into one file.
- Open Photos and tap Select.
- Choose one or more pictures.
- Tap Share, then choose Print.
- In the print preview, place two fingers on the preview.
- Pinch outward to open the preview as a PDF.
- Tap Share again and save the file to Files or send it.
The pinch gesture may feel unusual at first. Start with two fingers close together, then move them apart. The preview will open as a PDF rather than a print job.
This method suits receipts, artwork, signed pages, and photo records. For cleaner scans, use even light and place each page on a flat surface. Crop the pictures first when the page edges look uneven.
Export a Document From Pages
Pages can export a finished document as a PDF in a few taps. This works for letters, school work, resumes, and short reports. It keeps the layout ready for printing or sharing.
Open the document in Pages and tap the Share button. Choose Export and Send, then select PDF. Pick a destination such as Files, Mail, Messages, or AirDrop.
Before exporting, check the page view. Look for cut-off images, empty pages, or odd page breaks. A quick check can prevent layout problems after you send the file.
- Use portrait pages for letters and forms.
- Use landscape pages for wide tables.
- Keep large images small to reduce file size.
- Save the final PDF in a named folder.
Other iPad apps may offer a similar export path. Look for Share, Export, or Send a Copy. Then choose PDF as the file type.
Try a Third-Party PDF App
Built-in tools are enough for basic PDF creation. A third-party app helps when you need to edit, mark up, sign, or merge files. These apps can also offer stronger tools for work and study.
PDFelement supports PDF editing, page changes, and form work. Adobe Acrobat supports viewing, comments, signatures, and file sharing. Both apps offer free features, while some advanced tools need a paid plan.
Check the app cost before starting a large project. Some apps limit exports, cloud space, or edits on free plans. For a simple scan, the iPad tools are often faster and free.
Choose an app based on the task at hand. A scan tool suits paper pages. An editor suits contracts or forms. A merge tool suits several files that need one final PDF.
Store, Organize, and Share Your PDFs
After you create a PDF, give it a clear file name. Include the topic and date when that helps. For example, “rental-receipt-march.pdf” is easier to find than “scan001.pdf.”
Save key files in Files, iCloud Drive, or another trusted storage service. Create folders for work, school, receipts, and personal records. This small habit keeps your document list useful as it grows.
- Use Share to send a PDF by Mail or Messages.
- Use AirDrop for a nearby Apple device.
- Save a copy before adding major edits.
- Check the file before sending private information.
- Move old files to an archive folder.
You can also open a PDF in Files and use Markup. Add notes, draw on the page, or sign a form when the file allows it. Keep the original copy when the document may need later changes.
For private records, review the recipient list before tapping Send. A PDF can contain names, addresses, account details, or other sensitive data. Share only the pages that the other person needs.
Pick the Right iPad PDF Method
If you need to scan paper, choose Notes or Files. If you have pictures, use Photos and the print preview gesture. If you wrote the file in Pages, export it as a PDF from that app.
These built-in methods answer most searches for how to make a PDF on iPad free. They need no extra download for common tasks. Third-party apps make sense when you need deeper edits, forms, or file control.
Start with the simplest method that fits your source. Save the result in Files, name it well, and check each page. Your PDF will be ready to store, print, or share.
Related reading
PDF to Photo: Quality and Speed
Convert PDF pages to sharp JPEG photos on desktop, online, or iPhone.
Import PDF Data into Excel: Clean Tables Fast
Move PDF tables into Excel, then clean and check the results.
Screenshot to PDF: Simple Ways to Convert
Turn screenshots into clear, shareable PDF files on any device.