InDesign to PDF: Steps and Settings
Export clean, print-ready PDFs from InDesign with the right settings.

Why export an InDesign file as a PDF?
To convert an InDesign file into a PDF, use File, Export, then choose Adobe PDF. This process creates a shareable file for review, email, web use, or print. You can export every page or only a chosen range.
Before you begin, save your work and make a backup of the original INDD file. Keep the backup in a separate folder. A PDF export does not replace your editable InDesign document.
InDesign offers two main PDF choices. Adobe PDF (Interactive) suits links, forms, and screen viewing. Adobe PDF (Print) suits flyers, books, posters, and other printed work.
- Use an interactive PDF for links and on-screen reading.
- Use a print PDF for a press, copier, or print shop.
- Use a smaller export for quick proofing and email review.
Adobe explains the main export path in its Adobe PDF export instructions. The menu names can vary slightly by InDesign version.
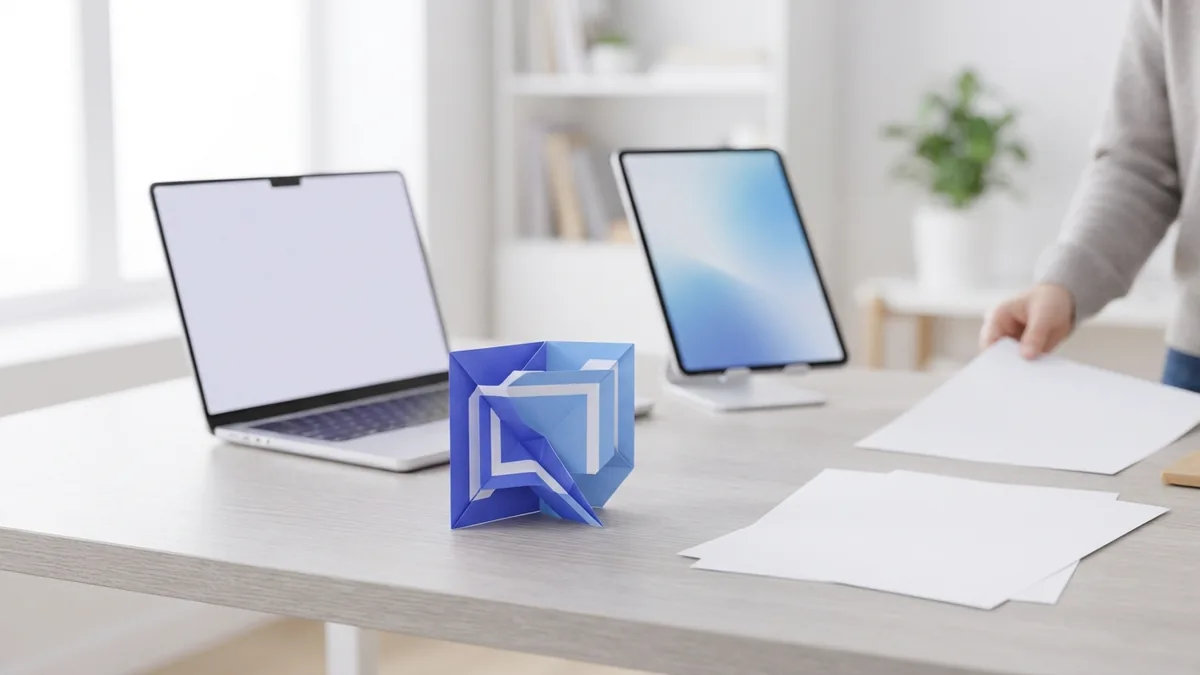
How to convert an InDesign file to PDF
Start with the document open in InDesign. Check the page size, text, images, and links before you export. Fix missing assets first.
- Save the INDD file and create a backup copy.
- Open the File menu.
- Choose Export.
- Pick a folder and enter a PDF file name.
- Set the format to Adobe PDF (Print) or Adobe PDF (Interactive).
- Select a preset that matches the final use.
- Set pages, marks, bleed, and image quality.
- Click Export, then review the finished PDF.
For most print jobs, choose Adobe PDF (Print). For a digital brochure with working links, choose Adobe PDF (Interactive). The print option gives you more control over press output.
Do not overwrite your INDD file with the PDF. Give the PDF a clear name, such as “summer-brochure-print.pdf”. A useful name helps teams find the correct version later.

Choose PDF presets and export settings
PDF presets set many export choices at once. They save time, but you should still check the key tabs. The right preset depends on the final reader and printer.
| Preset | Best use | What to check |
|---|---|---|
| High Quality Print | Office printing and proofs | Image size, bleed, and page range |
| Press Quality | Commercial print work | Color, marks, bleed, and image size |
| Smallest File Size | Email and quick web sharing | Low image quality and small dimensions |
High Quality Print works well for many home and office projects. Press Quality suits a print shop that asks for press-ready files. Always follow the printer’s own file rules when they differ.
For sharp print output, set images near 300 dpi. DPI means dots per inch. Open the Compression tab and check the downsampling values.
Do not raise a small image to 300 dpi and expect new detail. InDesign cannot restore detail that the source image lacks. Use a larger source image when a picture looks soft.
Choose compression with care. JPEG compression can shrink a file, but strong compression can add blocky marks. Use less compression for fine type, line art, and rich photographs.

Manage layers, pages, and spreads
InDesign lets you export all pages or a chosen page range. In the Export Adobe PDF window, find the Pages area. Select All for the full document.
Choose Range when you need only selected pages. Enter a range such as 2-5 or 8,10,12. Check the result when you export a booklet or long report.
Use Pages for separate PDF pages in most cases. Use Spreads when the reader needs a two-page view. A print shop may ask for single pages instead.
- Export pages for normal print production.
- Export spreads for a screen preview of facing pages.
- Check page numbers after every partial export.
- Keep hidden layers out of the PDF unless needed.
Layer settings can affect the final file. Some layers may contain notes, alternate artwork, or working guides. Hide anything that should not appear before exporting.
Use the Layers panel to review visible content. Then open the PDF and inspect each page. A quick check can catch hidden marks, empty frames, or missing artwork.
Set bleed and printer’s marks
Bleed extends artwork beyond the trim edge. It prevents thin white lines after the printer cuts the sheet. A common bleed value is 0.125 inches, or about 3 millimetres.
Use the bleed value in your document setup when the artwork reaches an edge. Then open the Marks and Bleeds tab during export. Select Use Document Bleed Settings when those values are correct.
Printer’s marks can include crop marks, registration marks, and color bars. They help a print shop trim and check the sheet. They can also clutter a PDF meant for normal reading.
- Ask the printer whether marks are required.
- Include bleed when artwork touches the page edge.
- Leave marks off for most screen PDFs.
- Keep the final PDF page size in mind.
Do not add marks just because a preset offers them. The project brief should guide this choice. A digital handout usually needs neither marks nor bleed.
A print-ready PDF can show marks outside the trim area. That is normal. It does not mean the page content is too large.
Check the PDF for quality
Open the exported PDF in a trusted viewer. Do not rely only on the export message. Review the first page, a middle page, and the last page.
Zoom in on small type, thin lines, and image edges. Check that links work if you made an interactive PDF. Also check that colors and page order match the source.
- Look for missing fonts or changed line breaks.
- Check images for blur and rough edges.
- Confirm the page count and page range.
- Review bleed and marks at the trim edge.
- Check the PDF file size before sharing.
Print one test page when the job matters. A screen preview cannot show every print issue. Test pages can reveal scale, color, and crop problems early.
If the PDF looks right, keep both files together. Store the INDD backup with linked images and fonts when possible. This makes later changes much easier.
Fix common InDesign PDF problems
A missing font can change line breaks or cause warning messages. Check the document’s font status before export. Replace missing fonts or install the approved font files.
Blurry images often come from small source files or strong compression. Replace weak images first. Then review the Compression tab and use a print preset.
If pages appear in the wrong order, check the Pages panel and export range. A booklet layout may also need special print settings. Ask the printer before changing the document order.
If marks do not appear, check the Marks and Bleeds tab. Confirm that the bleed value exists in Document Setup. Also check that the PDF page view includes the bleed area.
If links fail, export with Adobe PDF (Interactive). Confirm each link inside InDesign first. Then open the PDF and test the links from the final file.
When a PDF seems too large, lower image compression with care. Remove unused pages and hidden content when appropriate. Keep a high-quality master export for future print work.
Related reading
5 Checks That Make a PDF Print Ready Before You Send It
Learn the checks that turn any PDF into a print-ready file.
PDF Comments: Context and Collaboration
Add clear PDF comments with desktop, Mac, online, and mobile tools.

Edit a PDF Document: Free Ways to Start
Edit PDF files free with online tools, Word, Mac apps, or LibreOffice Draw.