How to Print Business Cards at Home From a PDF
Print crisp business cards at home from a PDF with the right paper, settings, and cutting tools.
Choosing the right paper for clean, professional cards
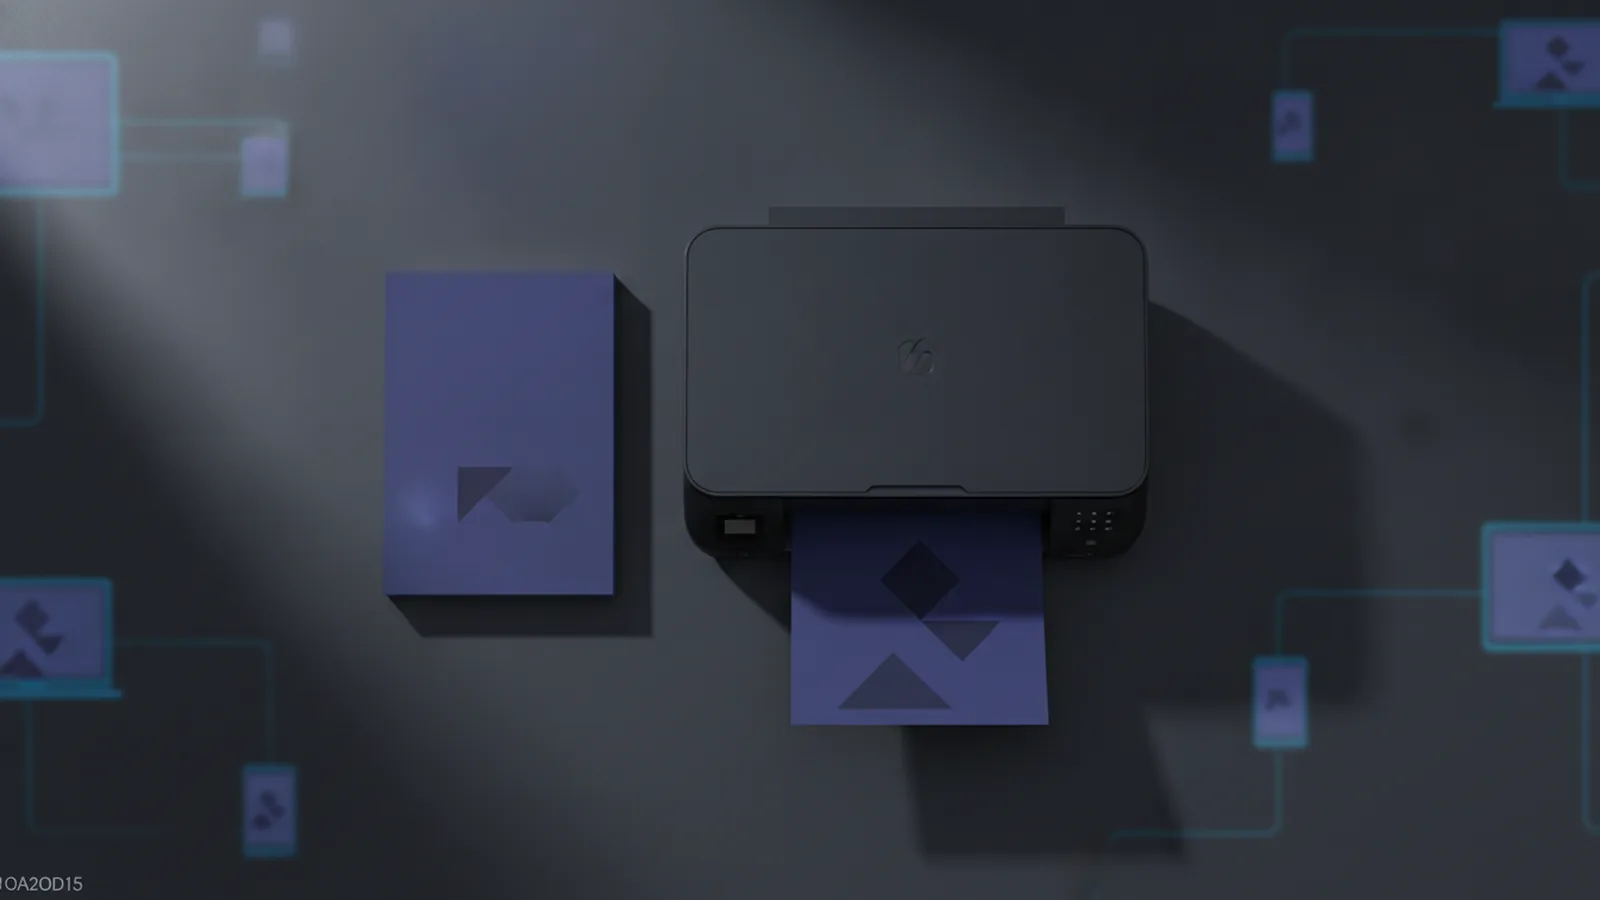
If you want to print business cards at home from pdf, start with paper that can handle ink and handling. Look for cardstock made for printing, not thin copy paper. A common choice is 100 lb (about 270 gsm) matte or glossy cardstock, which feels sturdy and resists curling.
Paper finish matters for readability and photos. Matte stock reduces glare and often looks more “office-professional.” Glossy stock can make logos and color gradients pop, but it may reflect light under strong lamps.
Also check whether your cards need an even, ink-absorbing surface. If your printer is inkjet, matte coated cardstock usually performs well. If you use laser, confirm the stock is designed to take toner cleanly.
- Choose cardstock made for printers and business card sizes.
- Try 100 lb (270 gsm) matte or glossy for a solid feel.
- Match paper finish to your design style and printer type.
Designing your business card for print-ready results
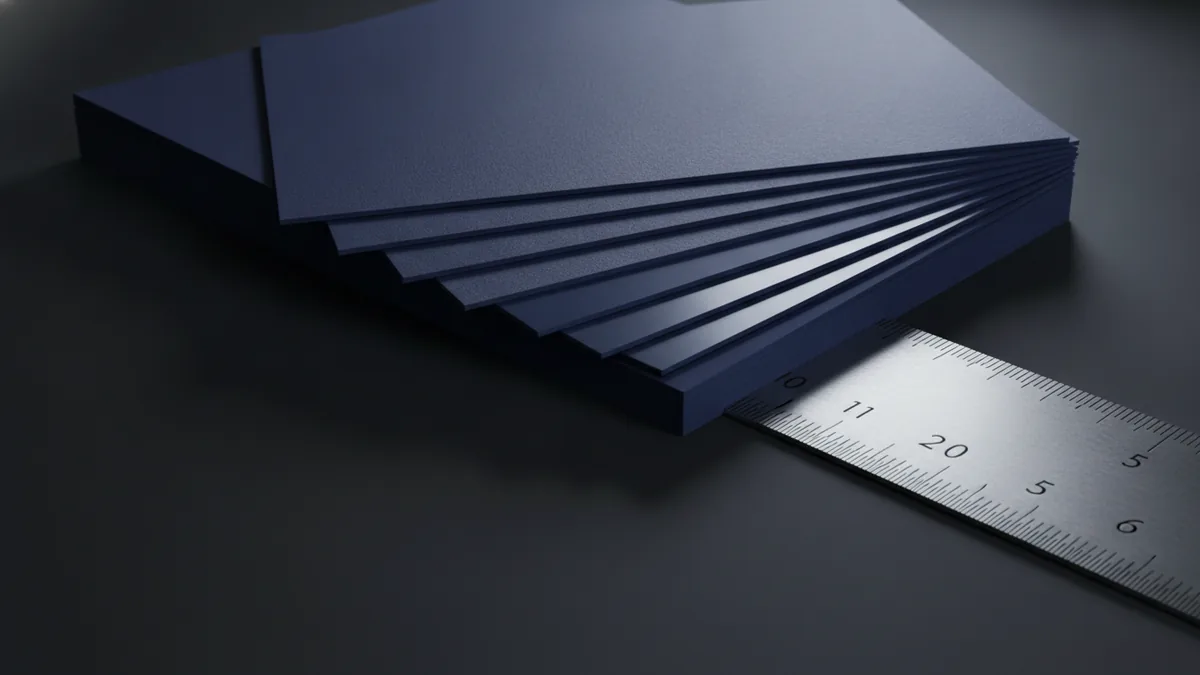
Business card design should be built around printing realities: margins, bleed, and safe text areas. A standard approach is to include bleed so the color reaches the edge after cutting. Without bleed, you risk thin white borders when trimming is slightly off.
Use professional tools or software that supports PDF output. Many designers prefer layout apps, but even simple design tools can work if you control size, margins, and export settings. The key is to ensure your card artwork is placed at the correct dimensions for your intended paper sheet.
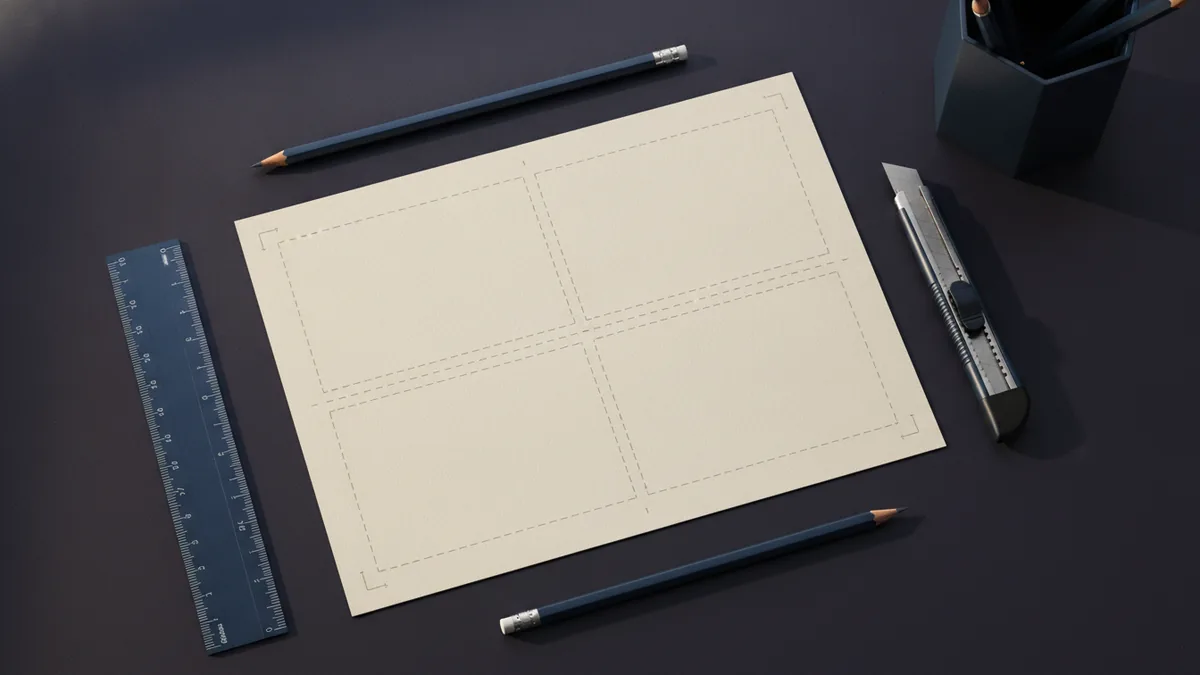
To keep your first print stress-free, use design templates or guides. Templates help you align elements and keep text away from trim lines. If you plan to print on Avery Clean Edge card sheets, use their template or measurement guide so the layout matches the perforation or cut targets.
- Set the final card size and reserve safe space for text.
- Add bleed so edge colors survive trimming.
- Use a template or guide to match your paper and sheet layout.
Saving your design as a high-resolution PDF
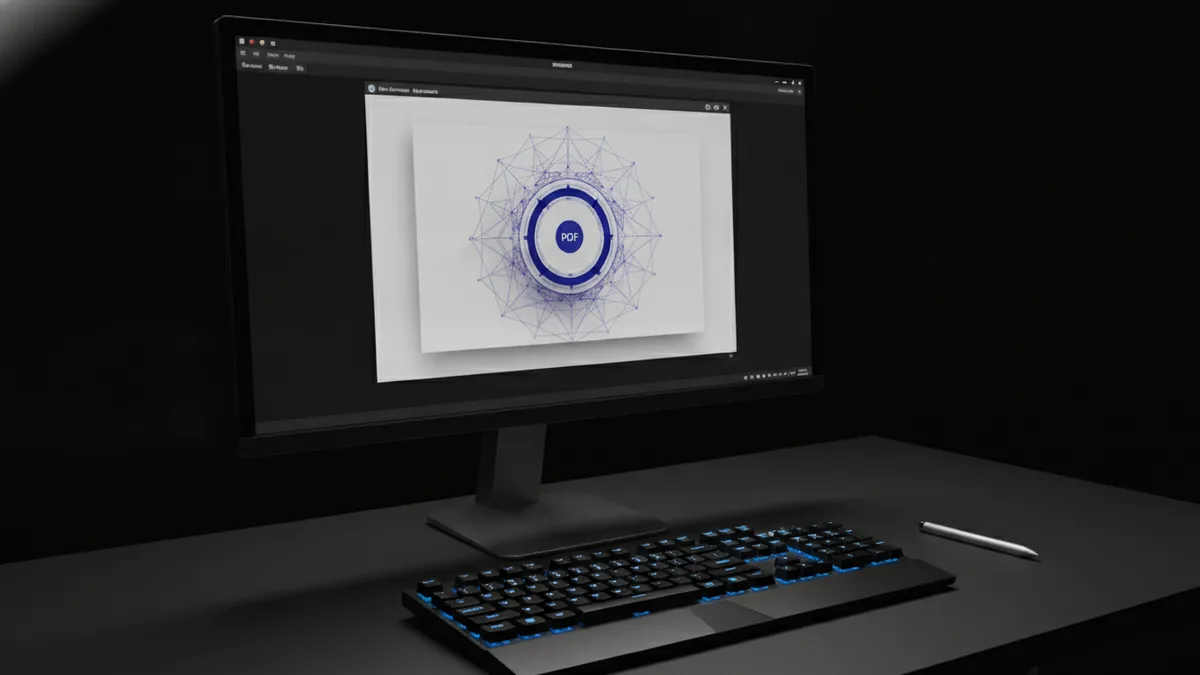
When learning how to print business cards from pdf file, the export step is where most quality gains happen. Save a print-ready PDF, not a screen-friendly version. Screen PDFs can look sharp on a monitor but print blurry or pixelated.
Export at high resolution and preserve vector text whenever possible. If your design includes photos, use a high enough image setting for printing. A practical target is 300 DPI for raster images, which aligns with most print workflows.
Before sending it to the printer, open the PDF and verify two things. First, confirm the page size matches the full sheet or card layout you intend to print. Second, check that bleed areas and crop settings look correct in the PDF viewer.
- Export as PDF and choose print quality or high-resolution.
- Confirm page size equals your paper size (full sheet or card sheet).
- Preview to check bleed, trim lines, and text positions.
Setting up your printer for alignment and quality
Printer setup is the difference between “looks good” and “looks off.” Your goal is consistent alignment, correct color, and sharp edges. Before printing a full sheet, do a test print on plain paper to check centering.
Start by selecting the right paper type in the printer dialog. For inkjet printers, choose a paper profile close to your cardstock, such as “matte” or “photo paper,” even if it is not photo paper. For laser printers, choose the cardstock weight setting, if available.
Then set scaling. Many home printers offer “fit to page,” which can shrink or expand your layout. For business cards, turn off automatic scaling and use “100%” or “actual size.” That prevents your design from drifting and makes it easier to cut accurately.
Finally, manage color settings. If you have color management options, consider “no color adjustment” in the printer and use color profiles from your design tool. Otherwise, do a small test and adjust brightness if the result looks washed out.
- Do a test print on plain paper before cardstock.
- Use 100% scale and turn off fit-to-page.
- Pick the closest paper type setting for your cardstock.
- Run a color test if your first sheet looks off.
Printing multiple cards on one page to reduce waste
One reason people search for how to print business cards at home from pdf is to avoid buying pre-printed sheets. The best way to reduce waste is to print multiple cards per page using a layout grid that matches your paper.
To do this, use design templates or pre-measured card sheet guides. For example, Avery Clean Edge card sheets often come with a matching template. When your PDF layout matches the sheet’s cut positions, the final trimming becomes much more predictable.
In your PDF, confirm the page contains only the cards you need, aligned to the sheet edges. Then print one test page on regular paper. Measure a card spacing point if possible, like the distance from the top edge to a corner mark.
- Choose a template that matches your card sheet size.
- Arrange multiple cards on the page using the guide.
- Print one test page to confirm alignment and spacing.
- Only then load cardstock and print the full batch.
Cutting and finishing your cards without ruining the design
Cutting and finishing techniques decide how “professional” your cards look. After printing, let the ink or toner settle before you cut. Inkjet prints can smudge if you cut too soon, especially on glossy stock.
Use bleed-aware trimming so you do not cut into important design elements. Bleed gives you extra coverage at the edges, but you still need a clean trim line. If you designed with bleed, trim to the card’s final size using the cut boundaries from your template.
For clean edges, consider a paper trimmer or precision cutting tools. A guillotine-style trimmer helps with straight lines. For smaller adjustments, use a craft knife with a cutting mat, but move slowly and keep the blade square.
- Wait a bit after printing to prevent smudging.
- Trim based on final size and your bleed plan.
- Use a paper trimmer for straight, repeatable cuts.
- For precision, use a cutting mat and stable ruler.
If you use perforated or pre-cut card sheets, follow the sheet’s cut and peel directions. The goal is consistent pressure so corners do not bend while you separate cards.
Tips for best results on your home print run
Small tweaks make a big difference when you print business cards at home. First, keep your cardstock feeding consistent. Fan the stack lightly if your printer struggles with thicker paper, and load it exactly how the tray instructs.
Second, watch your printer’s ink coverage. Heavy black backgrounds or dense graphics can take longer to dry. If your design is very dark, print fewer sheets per session, and handle them after they cool or dry.
Third, verify that your PDF is truly print-ready. If you are wondering how to print business cards from pdf, the answer is often “print the PDF that was exported for print.” If you see banding or compression artifacts, redo the export with higher quality settings and try again.
Lastly, plan for a fast “first batch” workflow. Print one aligned sheet, confirm trimming fit, and then run the remaining quantity once you know the color and size are correct.
- Feed cardstock carefully to avoid jams and skew.
- Reduce handling while ink is still wet or warm.
- Re-export if you see banding or compression artifacts.
- Print one sheet first, then scale up.
| Problem | Common Cause | Fix |
|---|---|---|
| Text looks blurry | Low-quality PDF export or downscaled images | Export high-resolution PDF and re-check 300 DPI images |
| Cards are off-center | Scaling set to fit to page | Set scale to 100% and disable auto fit |
| White edges after trimming | No bleed or cut too close | Use bleed in the design and trim using final boundaries |
| Smudges on glossy stock | Ink still wet during cutting | Let prints dry longer before trimming |
FAQ: Printing business cards at home from a PDF
What do I need to print business cards at home from a PDF?
You need a printer, compatible cardstock, and a print-ready PDF. Use high-resolution exports to avoid blurry text. Then test print on plain paper before your first cardstock run.
How do I print business cards from pdf file without scaling issues?
Open the PDF and print at 100% or “actual size.” Turn off any setting like “fit to page” or automatic scaling. This keeps alignment predictable for cutting.
How can I print multiple cards on one sheet from my PDF?
Use a design template that matches your sheet size and card layout. Then arrange the cards in the PDF using the template’s grid. Print one test page to confirm spacing before using cardstock.
Do I need bleed when I print business cards at home?
Bleed helps color reach the edge after trimming. Without it, small cutting errors can create thin white borders. If your design tool supports it, include bleed and trim to the final card size.
Can I use Avery Clean Edge card sheets with my PDF?
Yes, as long as you use their layout guide or template. Match your PDF page size to the sheet size. That reduces waste and makes cutting easier.
Is there a way to get a business card design for free in PDF form?
You may find free templates online, but quality varies. If you use a “free PDF” design, confirm it exports in high resolution and includes bleed and correct sizing.
Related reading
PDF to JPEG on Mac: Simple Steps and Tips
Turn PDF pages into JPEGs on Mac with Preview or an online tool.
Saving Excel Sheets as PDF
Save one sheet or a selected range from Excel as a clean, well-formatted PDF.
Import PDFs into InDesign: Pages and Placement
Place PDF pages in InDesign and keep their size, crop, and quality in check.