How to Add, Merge, and Extract Pictures in PDF Files
Add, merge, resize, and extract pictures in PDF files with ease.
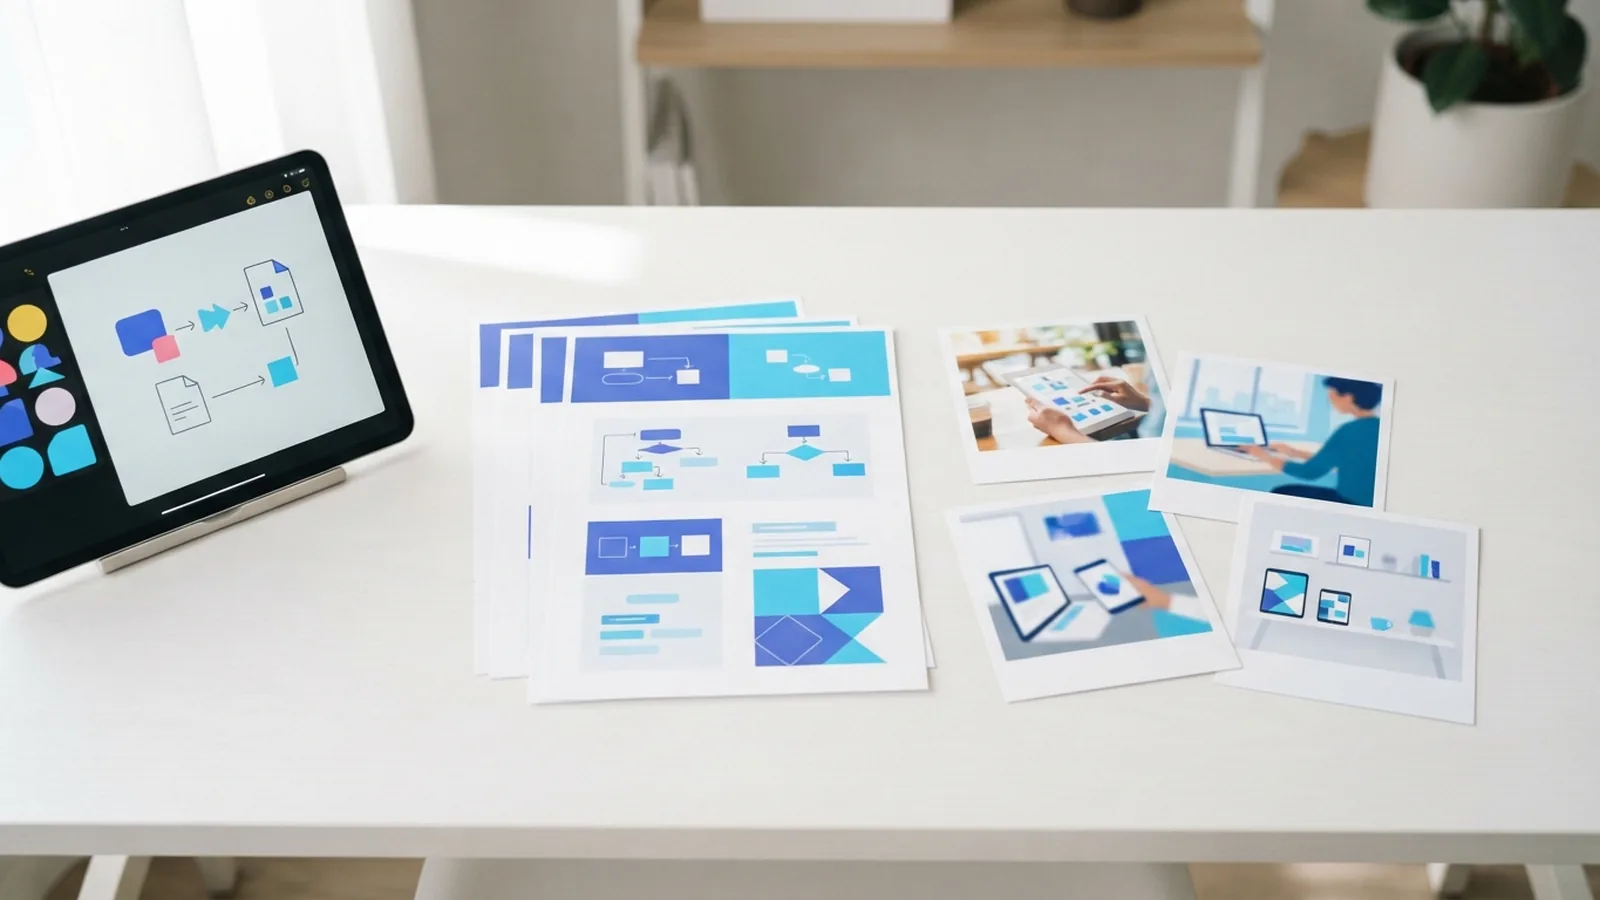
What PDF editing lets you do
A PDF editor lets you add pictures without printing or scanning the file again. You can place a photo, scan, chart, or signature on any page.
The same tool can resize, move, rotate, and replace pictures. It may also let you change the order of items with layer controls. The work stays inside one file.
This helps with forms, reports, lesson plans, portfolios, and scanned records. Save a new copy before major edits. That keeps your first file safe.
- Add one or more pictures to a PDF page
- Resize and move each picture
- Rotate pictures to match the page
- Place items in front of or behind other items
- Save the finished work as a new PDF
Online PDF tools can help when you work across devices. You can use them on a laptop, tablet, or phone browser. Check the tool's privacy terms before uploading private files.
How to add pictures to a PDF
If you need to know how to add pictures to pdf file, start with a PDF editor. Choose an editor with an image insert tool. Then open the file that needs a picture.
- Open the PDF editing tool.
- Upload the PDF from your device.
- Choose the option to add or insert an image.
- Select a JPG, PNG, GIF, or supported image file.
- Drag the picture to the right spot on the page.
- Use the corner handles to change its size.
- Rotate the picture when its angle needs a fix.
- Apply the changes and download the new PDF.
This process also explains how to put pictures in a pdf file. The words differ, but the task stays the same. You insert an image, set its place, and save the result.
To put pictures into a pdf, keep each picture inside the page edge. Leave a small margin around every item. This helps prevent clipping during print or later conversion.
For several images, add each file one at a time. Place them in a clear order before saving. Use the same width for pictures in one row. Align their top or bottom edges for a clean layout.
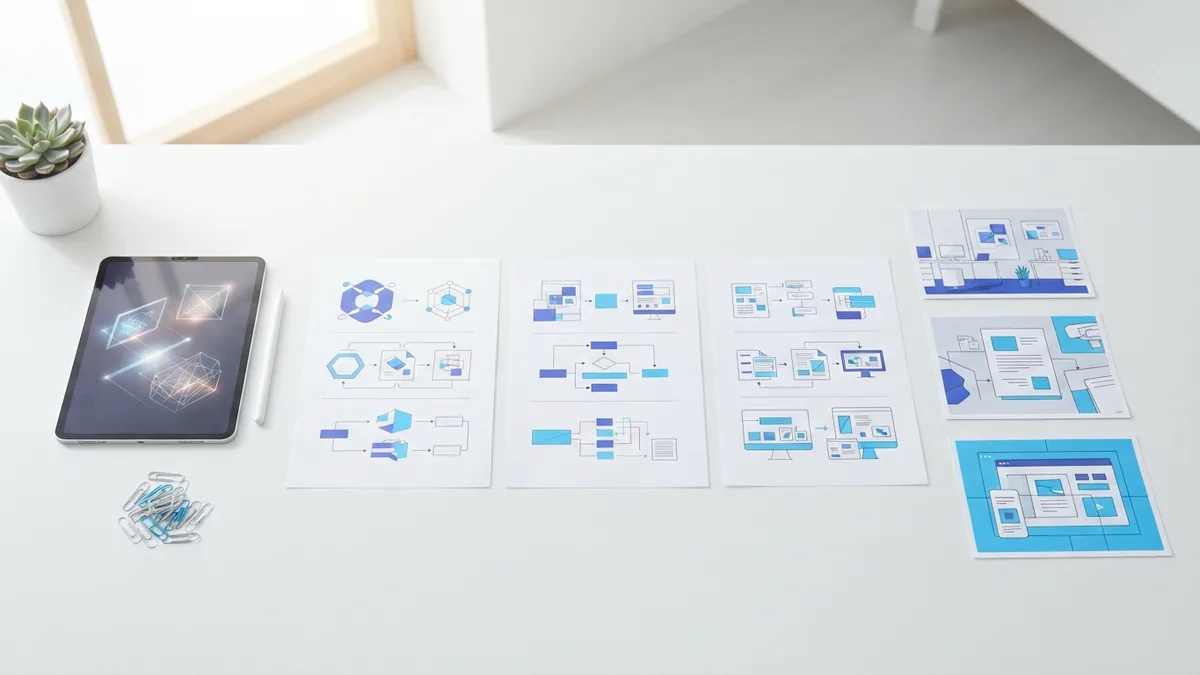
Choose the right image format
JPG works well for photos and scans with many colors. It keeps file sizes fairly small. Repeated saves may soften fine detail, though.
PNG suits screenshots, drawings, icons, and sharp edges. It can keep a clear background. PNG files may create a larger PDF than JPG files.
GIF fits simple graphics with few colors. It does not suit most photos. Some editors accept GIF files, while others need a quick conversion first.
| Format | Good for | Main trade-off |
|---|---|---|
| JPG | Photos and scans | May lose detail after many saves |
| PNG | Graphics and sharp edges | Often creates larger files |
| GIF | Simple diagrams | Limited color range |
If an image will not upload, convert it to JPG or PNG. Check the file type and size as well. A very large picture can slow the upload.
Use the original image when you can. Avoid taking a screenshot of another screenshot. Each extra copy can make small details harder to read.
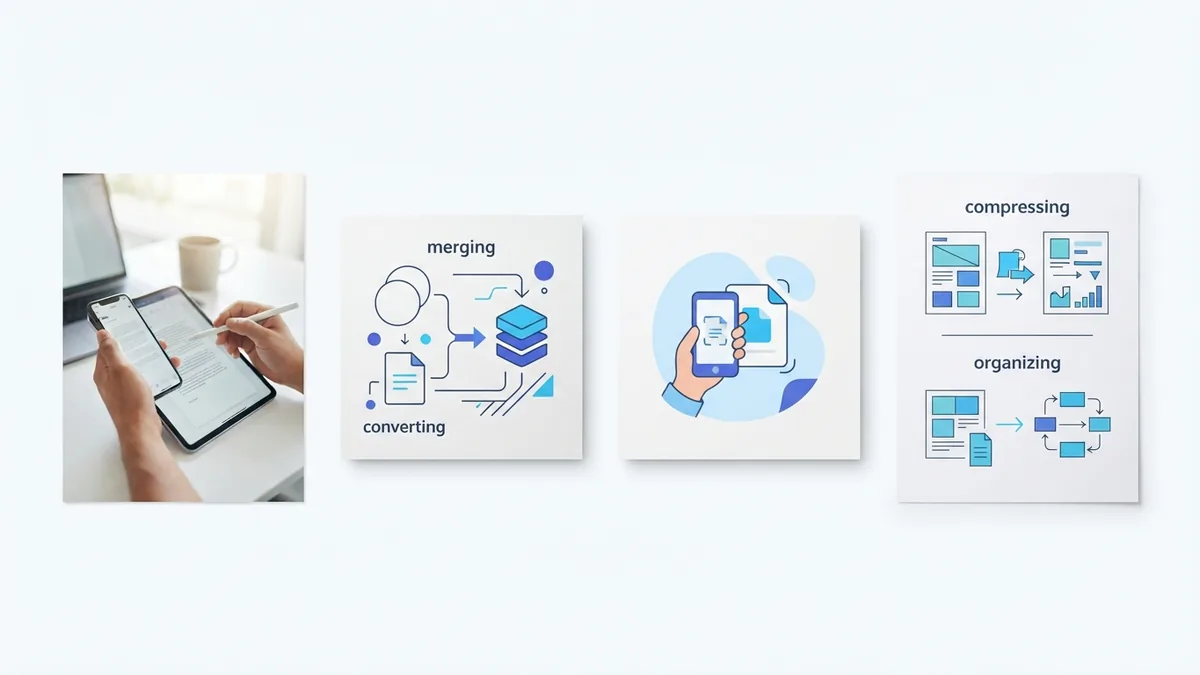
How to merge pictures into one PDF
Many image files can become one PDF with an image-to-PDF tool. This answers how to merge pictures into one pdf. It works well for receipts, notes, artwork, and photo records.
- Select the JPG, PNG, or GIF files you want to combine.
- Arrange the files in the order you want.
- Choose a page size and direction when offered.
- Select a fit setting that keeps each picture visible.
- Create the PDF and check every page.
Portrait pictures often look best on portrait pages. Wide pictures may need landscape pages. If one page size serves all files, add blank space around unusual shapes.
To make pictures into one pdf, sort the files before upload. A clear file name can help with sorting. You can also make a group of pictures into a PDF in one batch.
Check the page count before sharing the file. Open the PDF on both a phone and a computer. This test can reveal a page that looks wrong on one screen.
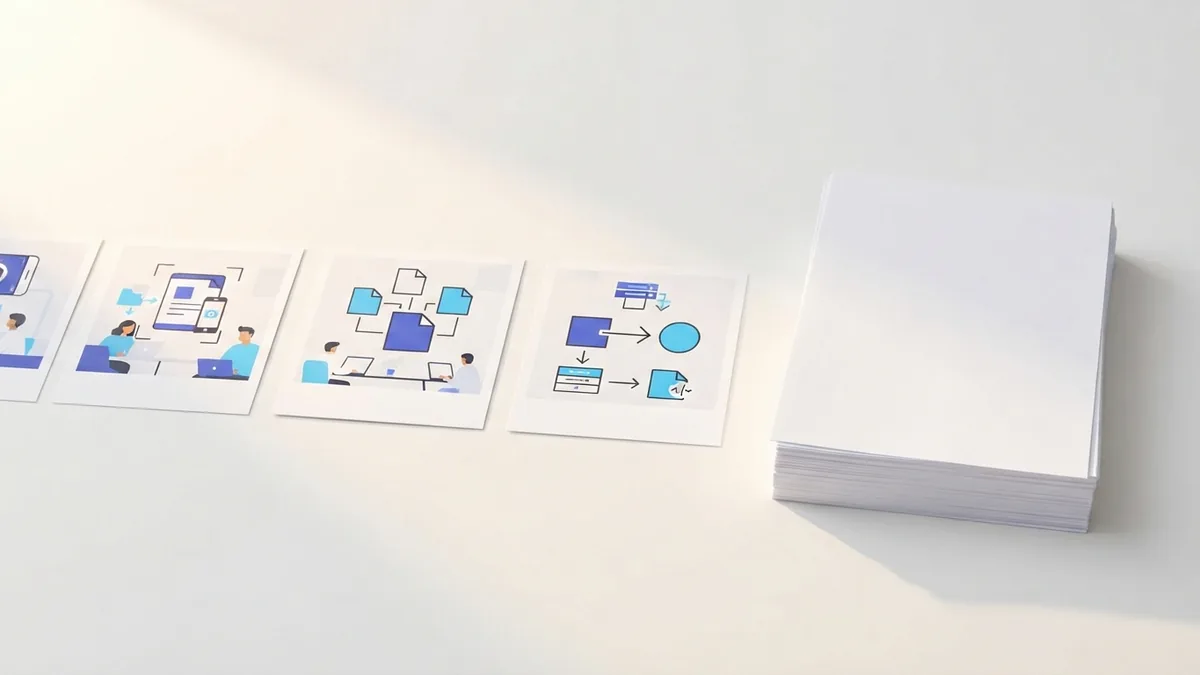
How to extract or save pictures from a PDF
If you need to know how to extract pictures from a pdf, use a tool with image export. Open the PDF, select the picture, and choose an export option. The tool may save the original image data or make a copy from the page.
For one picture, try the pointer tool in your PDF editor. Select the picture and copy it. Paste it into an image app, then save it as JPG or PNG.
This is also how to copy pictures from a pdf when the page is not locked. A locked file may block selection or copying. You may need the file owner's permission or an unlocked source file.
For many pictures, choose a tool that exports all images at once. Review the output folder after the export. It may include page backgrounds, icons, or small hidden items.
A scanned PDF may hold one full-page picture. It may not contain separate image objects. In that case, crop the needed part from the page. Then save the crop as a new JPG or PNG.
These steps cover how to save pictures from a pdf. They also cover how to extract pictures from pdf files in bulk. Keep the original PDF until you confirm every saved file opens correctly.
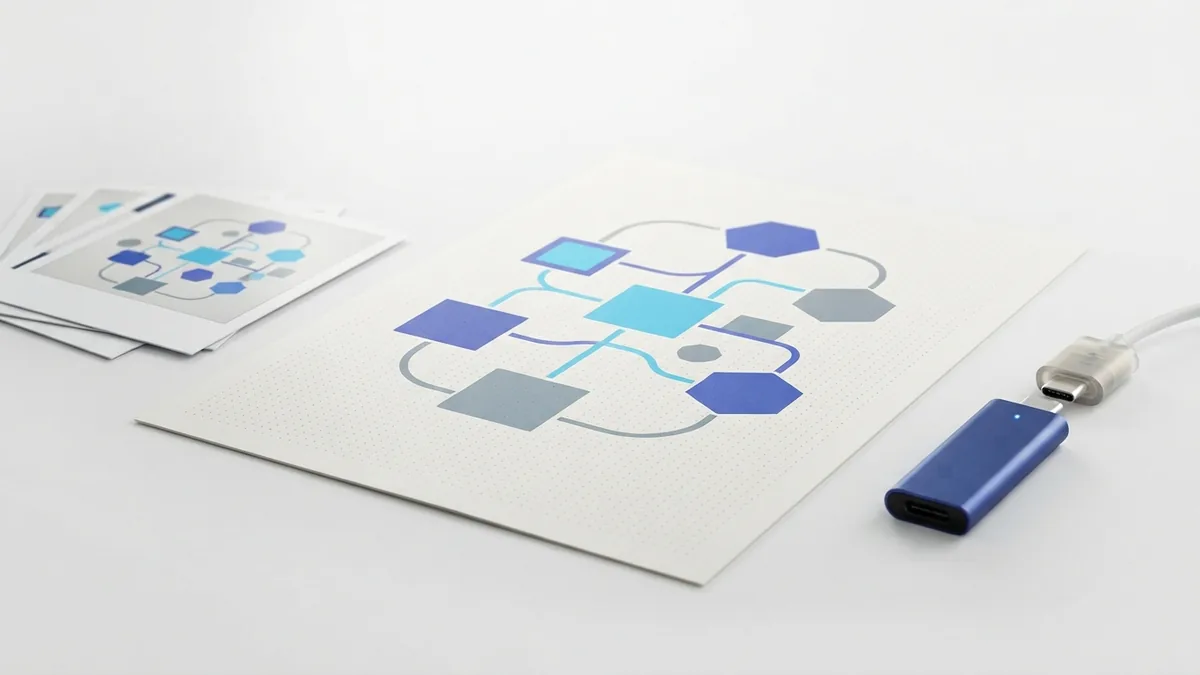
Best tools and fixes for common PDF image problems
The best tool depends on the job and your device. An online editor suits quick work across several devices. A desktop editor may offer more control over layers, crop settings, and file size.
On a Mac, Preview can handle some basic PDF tasks. It can view pages and mark them up. For how to make pictures into pdf mac users may also use the print dialog. Select the pictures, then choose the PDF save option.
For how to put pictures in pdf file mac users can open a PDF editor or use Preview for simple edits. Preview may not provide every image layer feature. A full editor works better for complex page layouts.
- Picture looks blurry: Start with the original, high-quality file.
- Picture gets cut off: Move it inward and leave a page margin.
- PDF is too large: Resize the image or use file compression.
- Picture covers other items: Change its layer order.
- Upload fails: Convert the file to JPG or PNG.
- Export misses a picture: Check whether the PDF uses a full-page scan.
Review the final PDF at normal size before you share it. Zoom in to check fine detail. Then print one page if the file will go to a printer.
Keep names simple when you save related files. Use a new name for the edited copy. This makes it easier to restore the first version if an edit goes wrong.
Related reading
PDF to JPEG on Mac: Simple Steps and Tips
Turn PDF pages into JPEGs on Mac with Preview or an online tool.
Saving Excel Sheets as PDF
Save one sheet or a selected range from Excel as a clean, well-formatted PDF.
Import PDFs into InDesign: Pages and Placement
Place PDF pages in InDesign and keep their size, crop, and quality in check.