
How to Print a PDF as a Poster Without Adobe
Turn one PDF into a large poster with free tools and clear print steps.
What It Means to Print a PDF as a Poster
To print a PDF as a poster, you split one large page across several smaller sheets. This process is called tiling. You then print the sheets and join them to form one larger poster.
For example, an A3 design can span four A4 sheets. A larger design may need nine or more pages. The final size depends on the PDF page size, paper size, scale, and printer margins.
The best method depends on your printer and the software you have. You do not need Adobe Acrobat. Free desktop tools and online services can handle most poster jobs.
Free Tools for Making a Poster Print
Many free PDF tools can split a page into tiles. Choose a tool that lets you set scale, overlap, paper size, and page range. These controls help you keep the final poster close to the planned size.
- Poster printing in a PDF reader: Some free readers offer a Poster or Tile print mode.
- LibreOffice Draw: It can open many PDFs and place pages across a larger print layout.
- Online poster tools: Browser tools can tile a PDF without a desktop install.
- Image editors: A large PDF page can become an image before you split it into sheets.
- Local print shop tools: A shop can print the full page at poster size from your PDF.
Online tools suit simple, non-private files. Avoid uploading confidential forms or personal records. For private work, use a local app instead.
How to Print a PDF as a Poster
First, check the PDF page size. Open the file properties in your PDF reader. Note whether the page uses A4, A3, Letter, or a custom size.
- Open the PDF: Load the file in a reader with poster or tile printing.
- Open the print window: Choose the printer and select the page range.
- Choose Poster or Tile: This setting divides the page across several sheets.
- Set the scale: Use 100% for the original size. Increase the scale for a larger poster.
- Pick paper settings: Select your paper size, portrait or landscape mode, and paper type.
- Add overlap: Start with 5 to 10 millimetres. This gives you room to line up each sheet.
- Turn on cut marks: Use them if your tool offers them. They show where sheets should meet.
- Print a test page: Check the scale, colour, and sharpness before printing every page.
Some tools show a page preview before printing. Count the tiles in the preview. This helps you estimate paper use and final poster size.
If the software lacks a tile setting, export each section as a separate PDF page. You can then print those pages at 100% scale. Keep the same paper and margin settings for every page.
Set the Paper Size, Scale, and Image Quality
Paper size controls how many sheets you need. A4 paper measures 210 by 297 millimetres. Letter paper measures 8.5 by 11 inches. Select the paper loaded in your printer.
Orientation matters too. Choose portrait for a tall design. Choose landscape for a wide design. Match the PDF shape when possible. This reduces wasted space and extra tiles.
| Setting | Good starting point | Why it helps |
|---|---|---|
| Scale | 100% for the original size | Keeps the planned dimensions |
| Overlap | 5–10 mm | Makes sheet alignment easier |
| Resolution | 150–300 pixels per inch | Keeps images clear at print size |
| Orientation | Match the page shape | Limits empty space and extra pages |
Resolution means the amount of image detail in each printed inch. For photos, aim for about 150 to 300 pixels per inch at the final size. Text and vector shapes can stay sharp at larger sizes.
Do not enlarge a small image too far. A low-quality image may look soft after scaling. Check the PDF at 200% zoom before printing. Look for fuzzy text, jagged lines, or blocky photos.
Fix Common PDF Poster Printing Problems
A poster may print too small when the printer adds a fit-to-page setting. Turn off automatic fitting when you need exact scale. Then enter the target scale yourself.
- Pages have white edges: Most home printers cannot print to the edge. Trim the margins or allow overlap.
- The poster looks blurry: Check the source image resolution. Replace small images when possible.
- Tiles do not line up: Use the same orientation and paper setting on every page. Keep overlap enabled.
- Colours look different: Check the printer paper type and colour mode. Use a test sheet first.
- Some content is missing: Check the print preview. The page may extend beyond the printable area.
- The file will not open: Download the PDF again or save a fresh copy. A damaged file can stop printing.
Print one row or column as a test when the poster uses many sheets. This saves ink and paper. It also shows whether the chosen scale works.
For exact colour or a very large poster, use a print shop. Ask for a proof sheet first. A proof can reveal size or colour issues before the full job runs.
Other Ways to Print a PDF Poster
The simplest option is a print shop. Send the PDF and request the final poster size. Tell the operator whether the design should print edge to edge. Ask about paper weight, finish, and colour proofing.
You can also print the PDF as one large image. Export the page at its final size, then open it in an image editor. This method works well when your PDF reader lacks poster printing.
Another option uses a word processor or slide app. Place the PDF page on a large canvas. Divide the canvas into smaller pages. This gives you control over crop marks and layout, but it takes more setup.
For a quick home project, use an online tiling service. Upload the file, choose the paper size, and download the tiled result. Review the service's privacy terms before uploading the PDF.
Assemble the Printed Poster Sheets
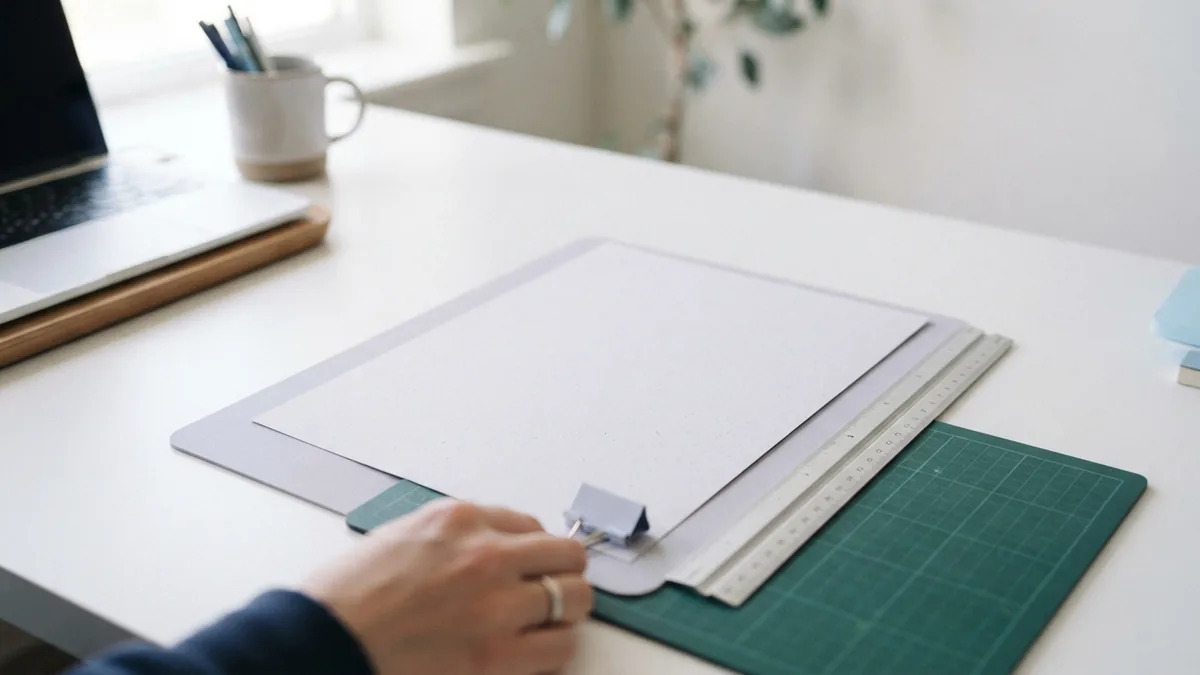
Let the ink dry before joining the sheets. Place every page on a clean, flat surface. Arrange the pages in order before cutting anything.
- Lay the sheets face up in a grid.
- Match the printed guides and overlap areas.
- Trim one edge from joining sheets with a sharp ruler and blade.
- Leave one uncut edge on the matching sheet.
- Join the backs with clear tape or paper tape.
- Press each seam flat before adding the next row.
Trim only after the full layout looks correct. A small mistake can shift every later sheet. Use a cutting mat to protect your desk and keep edges straight.
For a stronger finish, mount the joined pages on card or foam board. Use spray adhesive in a well-ventilated space. Smooth from the centre outward to prevent bubbles.
Now you know how to poster print a PDF with common tools. Start with a test page, confirm the final size, and allow overlap for clean assembly.
Related reading
MOV to PDF on Mac: Frames and Files
Turn video frames into a neat PDF on your Mac.
XBRL to PDF: Readability and Record-Keeping
Turn XBRL reports into readable PDFs and keep the source files safe.
PST to PDF: Methods and Best Practices
Compare Outlook, software, and expert options for converting PST files to PDF.