Save a Scan as a PDF: Phones and Computers
Scan paper or convert images to a clear PDF on your phone or computer.

Why save scanned documents as PDFs?
To save a scan as a PDF, scan the page with a phone or scanner, then choose PDF as the file type. If your scan is already a JPG or PNG, convert that image to PDF on Windows or Mac. Both routes keep the page easy to share and open.
PDFs keep text, images, and page layout together in one file. They also work on most phones and computers without special software. A multi-page PDF is easier to send than a folder of separate page images.
Scans may start as JPG, PNG, TIFF, or HEIC files. A PDF can hold one page or several. Choose a clear scan before converting, since making an image a PDF does not restore detail that the camera missed.
- Use PDF for forms, receipts, notes, and signed paperwork.
- Use a multi-page PDF to keep a full document in page order.
- Keep the original images if you may need to edit or crop them later.
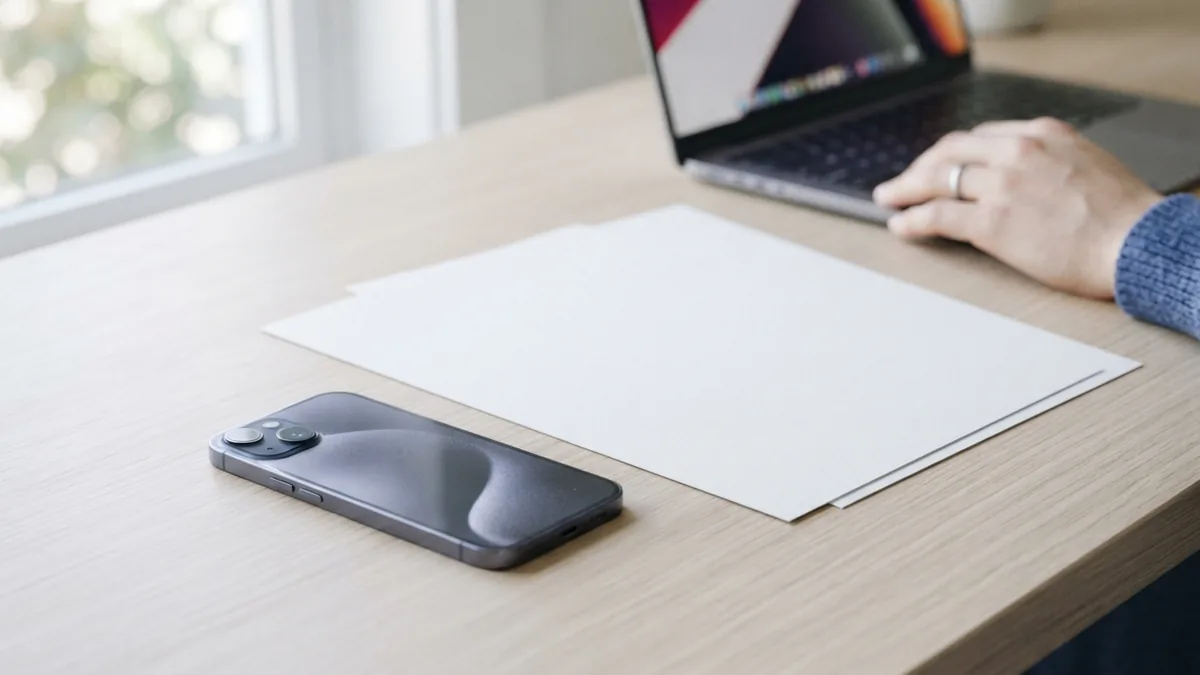
Scan and save a PDF with your smartphone
A phone camera can scan a page without extra hardware. Place the paper on a flat surface with strong, even light. Keep the phone above the page, and fit all four edges inside the camera view.
On an iPhone, open Notes, start a note, tap the attachment button, then choose Scan Documents. Hold the phone over the page or tap the shutter. Adjust the corners, save the scan, then open its share options and save or send the PDF.
On Android, open Google Drive and tap the camera or scan option. Capture the page, crop its edges, then add more pages if needed. Save the scan. Drive stores the result as a PDF in your selected folder.
Menu names can vary by phone and app version. If you cannot find a scan tool, use the camera in a trusted scanning app. Check its export settings and choose PDF rather than JPG before saving.
- Lay each page flat against a contrasting surface.
- Capture the page in bright, indirect light.
- Crop the borders and check that small print looks sharp.
- Add pages in order, then save or export as PDF.
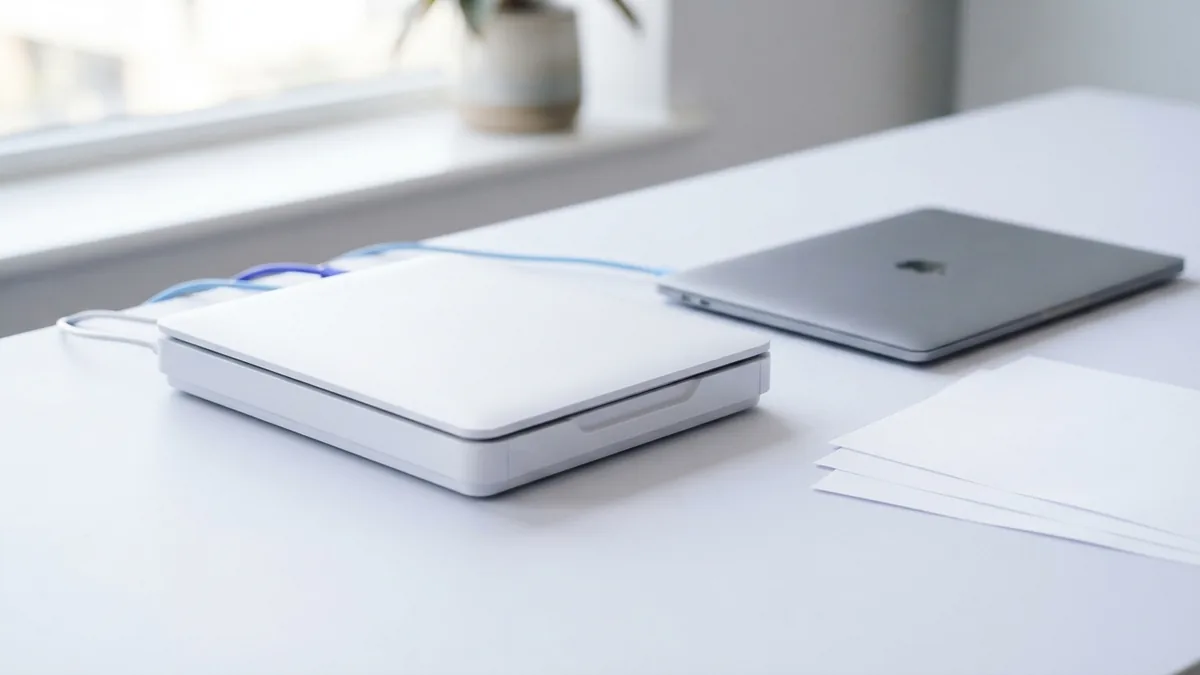
Scan paper with a scanner connected to a computer
Connect the scanner by USB or over your home network, then install its maker’s scanning app or use the built-in scan tool. Place the page face down on the glass, aligned with the corner mark. For several pages, use the feeder if your scanner has one.
Open the scan app and select a document or photo preset. Choose PDF as the output type. For ordinary text pages, 300 dpi is a useful starting point; use a higher setting for small print or fine detail.
Preview the page before scanning. Check that no edge is cut off and that the page is upright. Scan the pages, set their order, then save the PDF in a folder you can find again.
If your scanner only saves images, choose JPG or PNG in its app. You can combine those image files into a PDF on the computer. This works well for older scanner tools.

Convert scanned images to PDF on Windows or Mac
You can turn existing JPG, PNG, TIFF, or HEIC scans into a PDF without scanning again. For a single image, use the built-in print or preview tools. For several pages, select the images in the order you want, then use a tool that can combine them.
Windows
Open the image in Photos or another image viewer. Press Ctrl+P and select Microsoft Print to PDF as the printer. Check the page size and fit settings, then choose Print. Name the PDF and select where to save it.
To combine images, select them in File Explorer, right-click, and choose Print if that option appears. Set Microsoft Print to PDF, review the layout, and print to a file. Since Windows menus can vary, use a PDF tool with a merge feature if the print option is missing.
macOS
Open the image in Preview. Choose File, then Print, and select PDF from the menu at the bottom of the print window. Choose Save as PDF, name the file, and pick a folder.
For multiple images, open them in Preview and show the sidebar. Drag thumbnails into the right order, then choose Print and Save as PDF. Check the saved file to confirm that every page appears.
Free tools such as Preview, Google Drive, and built-in print-to-PDF features handle many basic scans. Phone scan tools are also often free. Paid apps can add features such as text search, cloud sync, batch work, and file editing. Check privacy terms before uploading sensitive scans to any online service.
Fix common scan and PDF problems
A blurry scan often comes from movement, poor light, or a page that sits too far from the camera. Rest the phone on a steady surface and use daylight or a bright lamp. Retake the scan if small print still looks soft.
If the page looks gray or has shadows, flatten it and move it away from direct glare. Use a document mode or adjust brightness and contrast in the scan app. Avoid strong filters that erase faint marks or make signatures look uneven.
Large PDFs can be hard to email or upload. Lower the scan resolution for plain text, or use the app’s file-size setting. You can also compress the PDF, but compare the result with the original. Heavy compression can blur small type.
If pages are missing or out of order, reopen the source images and check the page list before export. If a PDF will not open, save it again with a different app or print it to PDF. Keep the original scan until you confirm the new file works.
- Cut-off edges: Leave a small border around the page and check the crop.
- Wrong orientation: Rotate the page before saving or combine pages.
- Unreadable print: Rescan at a higher setting, such as 300 dpi.
- File too large: Reduce image resolution or use light compression.
Keep scans clear, small, and easy to find
Start with a clean lens and a flat page. Place the document on a plain surface that contrasts with its edges. Good light and a steady camera matter more than a high resolution setting for most everyday paperwork.
Use 300 dpi for regular text documents when your scanner offers that choice. Choose color for photos, stamps, or colored marks; use grayscale for most printed pages. Black-and-white mode can shrink file size, but it may remove light pencil marks.
Give the file a name that helps you find it, such as a date and document type. Check that the PDF opens and that every page is clear before deleting the images. For private records, save the file in a secure folder and share it only with the right people.
For a quick answer to “how do I save a scan as a PDF,” use your phone’s scan tool and select PDF. With a scanner, select PDF in its software. For image files, use Print to PDF on Windows or Preview on Mac.
Related reading
JPG to PDF: Methods and Mobile Tips
Convert JPG photos to PDFs online or on your phone, with tips for layout and quality.
Screenshot to PDF: Simple Ways to Convert
Turn screenshots into clear, shareable PDF files on any device.

How to Turn a Picture into a PDF on Any Device
Turn any picture into a share-ready PDF in a few simple steps.