How to Change the DPI of a PDF Without Losing Clarity
Change PDF DPI for sharper prints, smaller files, or clearer screen viewing.
Understanding DPI in PDF Documents
To change the DPI of a PDF, you must resample its images. You can do this with an online PDF tool or Adobe Acrobat. Choose a lower value to shrink the file. Choose a higher value when print detail matters.
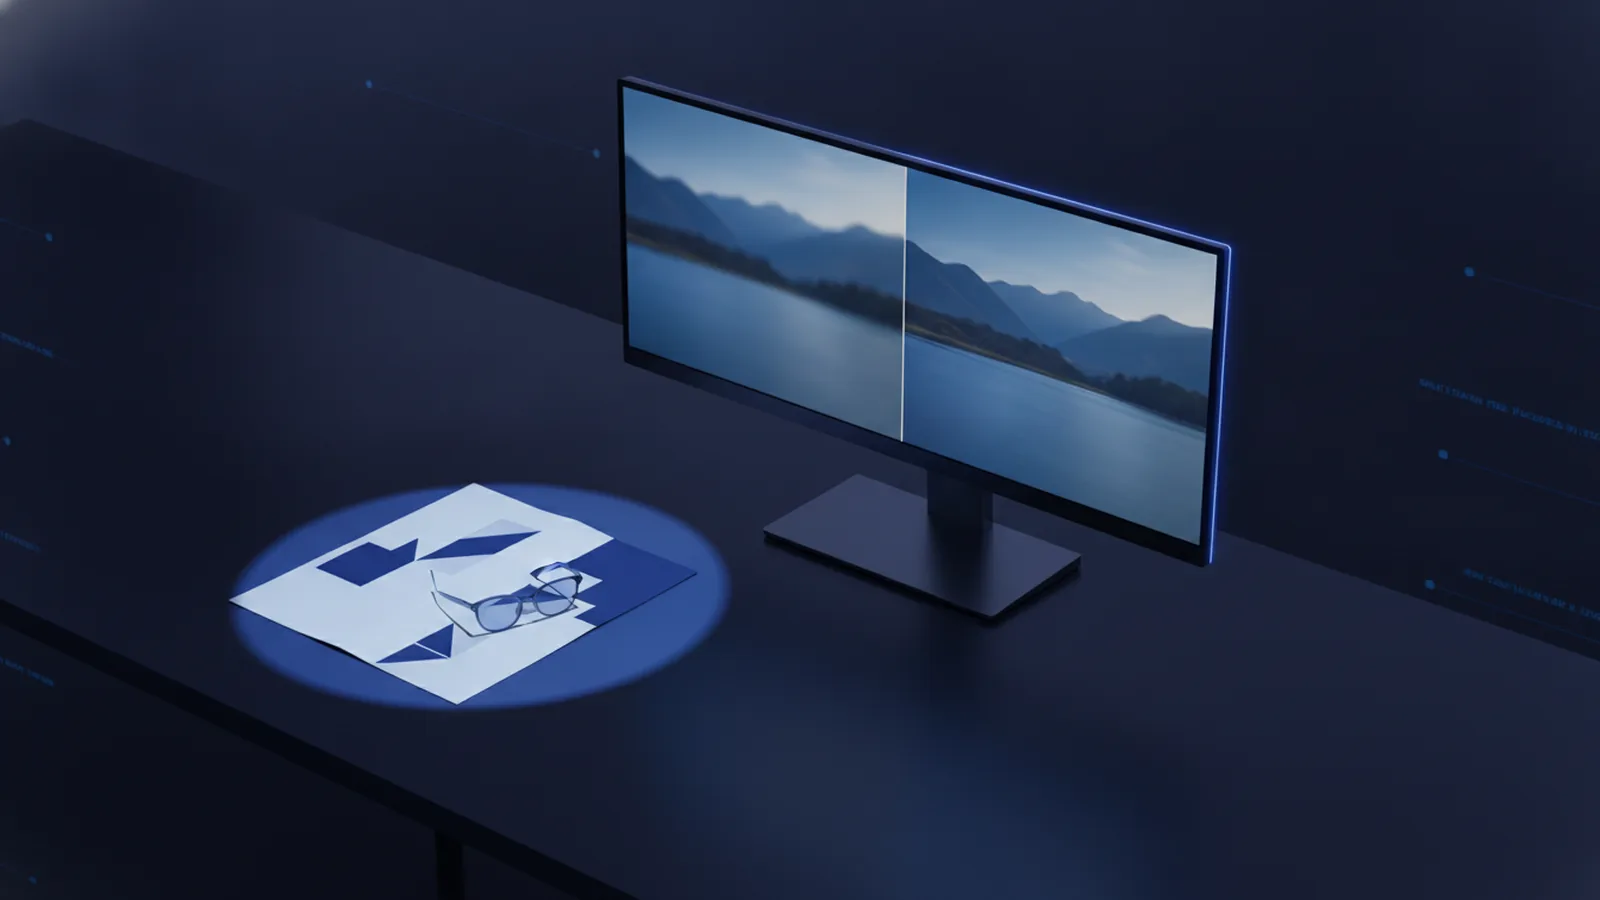
DPI means Dots Per Inch. It describes how many image dots fit within one printed inch. More dots can produce sharper printed images. DPI mainly affects raster images, such as scans, photos, and screenshots.
PDF pages can contain both vector and raster content. Vector shapes stay sharp at many sizes. Images have a fixed pixel count unless you resample them. A scan at 300 DPI may look crisp on paper. The same scan at 72 DPI may look soft when printed.
| Use case | Common DPI range | What to expect |
|---|---|---|
| Screen viewing | 72–150 DPI | Smaller files and clear screen display |
| Office printing | 150–300 DPI | Good detail for most documents |
| High-quality printing | 300 DPI | Sharp photos and fine details |
These ranges are useful guides, not fixed rules. The source image, printer, and viewing size also affect results.
Why Change the DPI of a PDF?
Lowering DPI can reduce PDF file size by a large amount. This helps when you need to send files by email. It also speeds up uploads and saves storage space. A scan can become much smaller after careful resampling.
There is a trade-off. Lower DPI removes image detail. Small type inside a scan may become hard to read. Fine lines can also look jagged or blurred. Always check a sample page before processing a large set.
Raising DPI does not restore lost detail. It only creates a larger image from the same source. A blurry 72 DPI scan will not become sharp just because you save it at 300 DPI. Start with the best source file you can get.
- Use 72–150 DPI for forms viewed on screens.
- Use about 150–200 DPI for routine office documents.
- Use 300 DPI for high-quality printing.
- Keep higher settings for detailed artwork or archival scans.
Think about the final task first. Screen viewing needs less data than a printed brochure. Printer compatibility also matters. Some printers gain little from very large images.
Methods for Changing PDF DPI
There are three common ways to change PDF DPI. You can use an online compressor, Adobe Acrobat, or an image editor before making the PDF. The best choice depends on privacy, file count, and the control you need.
Online tools offer a fast route for ordinary files. Acrobat gives more control over image resampling and compression. An image editor works well when you must fix or crop source images first.
Batch processing can save time when many PDFs need the same setting. Look for a tool that accepts several files in one task. Check the output from each file. Some pages may contain different image types and sizes.
- Make a copy of the original PDF.
- Choose the target DPI for its final use.
- Apply image downsampling or compression.
- Open the new PDF and inspect key pages.
- Print a test page when paper quality matters.
Keep the original file until you approve the result. This step protects detail if the new PDF looks too soft.
Using an Online Tool to Adjust DPI
Online PDF tools are often the simplest option. Upload the file, choose a compression level, and download the result. Some tools show DPI choices such as 72, 150, or 300. Others use quality presets instead of a direct DPI field.
For screen use, start with a medium or low setting. For print, choose a high-quality preset. If the tool offers custom settings, set color and gray images near 300 DPI for print work. Use a lower value when file size matters more than fine detail.
Follow these steps to change DPI on a PDF:
- Open a trusted online PDF compression or resizing tool.
- Upload your PDF and wait for the file check to finish.
- Select a low, medium, high, or custom quality setting.
- Choose batch mode if you need to process multiple PDFs.
- Download the result and compare it with the original.
Do not upload private records to a service without checking its terms. Remove files from the service when that option is available. Keep sensitive documents on your own device when policy requires it.
Online tools work best for quick jobs. They may offer fewer controls than Acrobat. They can also limit file size or the number of files in one batch.
Changing DPI with Adobe Acrobat
Adobe Acrobat can change image settings during PDF optimization. Open the PDF, then choose the tool for optimizing or reducing its file size. Find the image settings and enable downsampling. Enter a target DPI and choose a resampling method.
Acrobat can apply separate settings to color, gray, and black-and-white images. This helps you protect line art while shrinking large photos. Set the downsample value near 300 DPI for print work. Use a lower value for files made mainly for screens.
Adobe explains these controls in its guide to Acrobat PDF optimization. The exact menu names can vary by Acrobat version. Save the optimized file under a new name.
Acrobat also lets you review other file settings. Remove unused objects when they serve no purpose. Keep fonts and key metadata when the file needs them. Avoid aggressive compression when small print must stay readable.
Best DPI Settings for Different PDF Uses
The right DPI depends on the finished PDF. A report read on laptops may work well at 100 or 150 DPI. A printed contract often needs about 200 DPI. A photo-heavy handout usually benefits from 300 DPI.
Use 300 DPI as a common starting point for high-quality printing. Test the result on the target printer. Some office printers handle 200 DPI well. A print shop may ask for 300 DPI or more for certain work.
Keep an eye on file size. A color scan at 300 DPI can be several times larger than the same scan at 150 DPI. That difference grows across many pages. PDF compression can help, but it cannot replace a sensible DPI choice.
- Choose 100–150 DPI for web viewing and basic sharing.
- Choose 200 DPI for clear office copies and forms.
- Choose 300 DPI for photos, brochures, and sharp print output.
- Use the source DPI when preserving an archive is the main goal.
Check small labels, signatures, diagrams, and photo edges. These areas reveal lost detail first. If they look weak, raise the DPI or use the original PDF.
Frequently Asked Questions About PDF DPI
Many users ask how to change the DPI of a PDF after scanning or exporting it. The answer depends on the images inside the file. Text made from real PDF characters does not gain sharpness from a DPI change.
Before you share or print the file, inspect it at full size. Then print one representative page. This quick check can catch a poor setting before it affects every copy.
Can I change the DPI of a PDF without Acrobat?
Yes. Online PDF tools and some desktop apps can resample images. Choose a tool with a clear quality or DPI setting.
What DPI is best for printing a PDF?
300 DPI is a common choice for high-quality printing. Routine office documents may look fine at 150–200 DPI.
Does higher DPI make a PDF clearer?
Only when the source contains enough detail. Raising DPI cannot restore detail lost in a low-resolution scan.
How much can DPI reduction shrink a PDF?
The result varies by image count, color, and source size. A drop from 300 to 150 DPI can cut image data sharply.
Can I change DPI for several PDFs at once?
Yes, some online tools and desktop apps support batch processing. Review each output because source files may use different image settings.
Related reading
PDF Compression: Smaller Files and Clear Pages
Shrink PDF files while keeping pages clear, readable, and ready to share.
Save Documents as PDF: Simple Office Steps
Save Word, Excel, and PowerPoint files as clean, shareable PDFs.
How to Turn Any File Into a PDF
Turn documents, images, and presentations into PDFs in a few simple steps.